How to Preparer Files for a Print
Understand the Basics
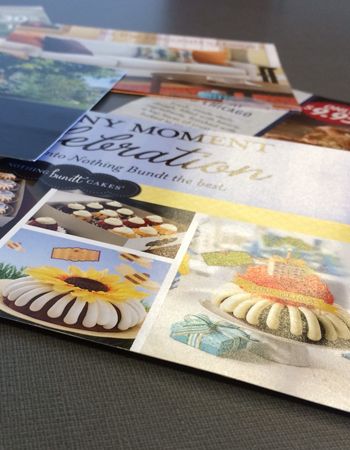
With most print jobs, you should have specifications to adhere to.
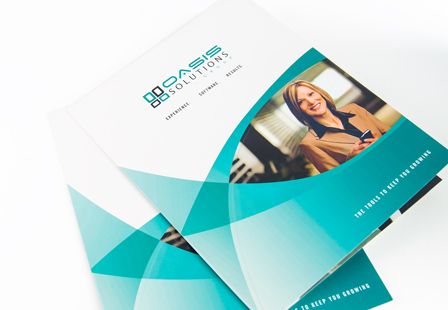
These specs work for preparing advertisements, brochures, business cards, and other printed mediums.
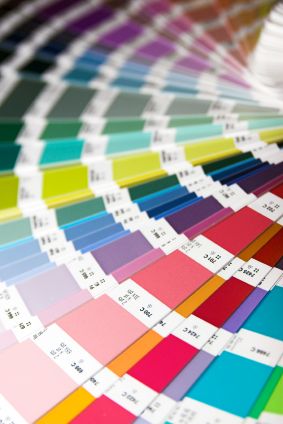
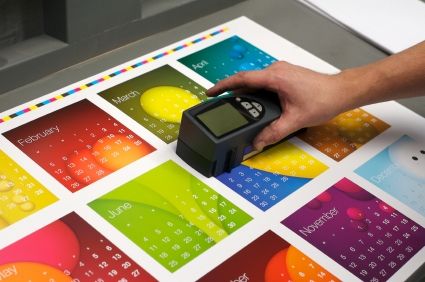
Colors:
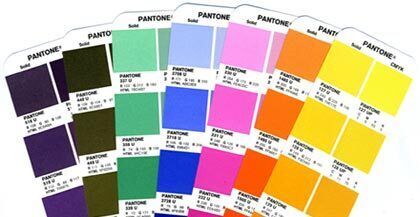
Create your document in "CMYK" colors or "Pantone Bridge Spot Colors" to ensure that the colors are closest to desired.
Print Layout:
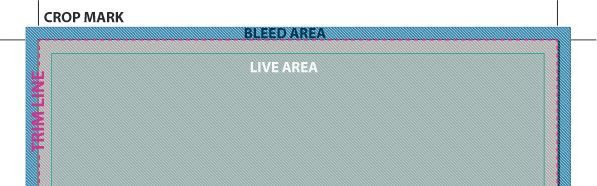
A bleed is needed when printing extends to the edge of the paper, so when the piece is trimmed or cut to the final size, the artwork goes all they way to the edge.
Trim Line: This is the finished size of the piece.
Live Area: The area that is considered safe to keep any important information within.
Bleed Area: This is the area that will be cut out, create a bleed that is 0.125″ on all sides.
Crop Marks: Indicates where to cut the paper.
Optimize Your File:
Remove any unnecessary objects from your file. Not only can these unneeded extras increase file size to no purpose, they can confuse your printer, cause delays in proofing, and introduce avoidable errors into the process.
Embed all images and outline all fonts, in case there is a need to open the file.
Use vector for text, drawings and logos when possible.
Make sure your images are the right DPI (300 or higher) for printing.
Don’t release art until it is final. Having multiple files of the same piece can get confusing. This is especially important with rush jobs, when lots of decisions are being made in a short period and are then frequently second-guessed. That sort of thing leads to errors which there is no time to fix.
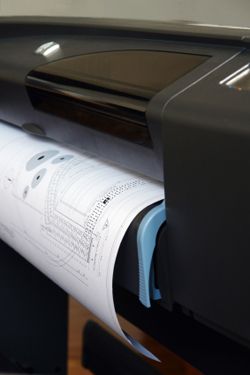
Exporting File for the Printer:
PDF is the best format to use.
Include all pages, in sequence.
Export the document in pages not spreads.
Include bleeds and crop marks.
Don’t use security settings and password protection on a PDF.
If your project file is too big for email, consider using our website upload page, Dropbox or Google Drive.
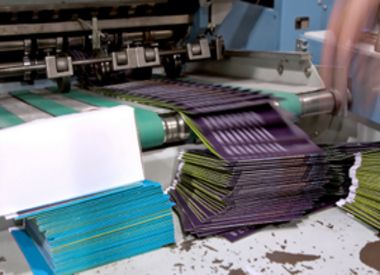
Choosing Paper:
Paper comes in a variety of weights, finishes and coatings.
The paper type and weight can sometimes affect how you prepare your press ready files, especially related to folding and binding, so confirm your paper choice to make sure any considerations are accommodated.
A paper’s weight is, more or less, a measure of its thickness.
There are also premium papers that are made with a high quality texture.
Papers also come coated or uncoated.
Coated papers have a gloss or matte finish that resists smudges and stains and displays the ink brighter and crisper. This also makes writing on the paper difficult. It’s best used for brochures, some business cards and marketing pieces that need to look higher end and aren’t being used for writing.
There are also specialty coatings that can be added after a piece is printed. These help protect the entire piece or are used to create eye-catching effects; such as UV coating and Spot Clear Coat that offer protection and improved visual appeal.
There is a shortage of some papers in the market, please inquire about our in-stock house papers for rush or budget jobs.
Final Note
Make sure that you give detailed instructions about your print job, specially if is something outside of the ordinary.
Please describe as much as possible or give us a call and we’ll be more than happy to answer any questions for you.
A small consultation can work wonders on working through something.